ESP8266 Onboard LED Blink
Practice project: 5Hz onboard LED blinker to learn proper GitHub repo structure for future ESP8266 projects.
What It Does
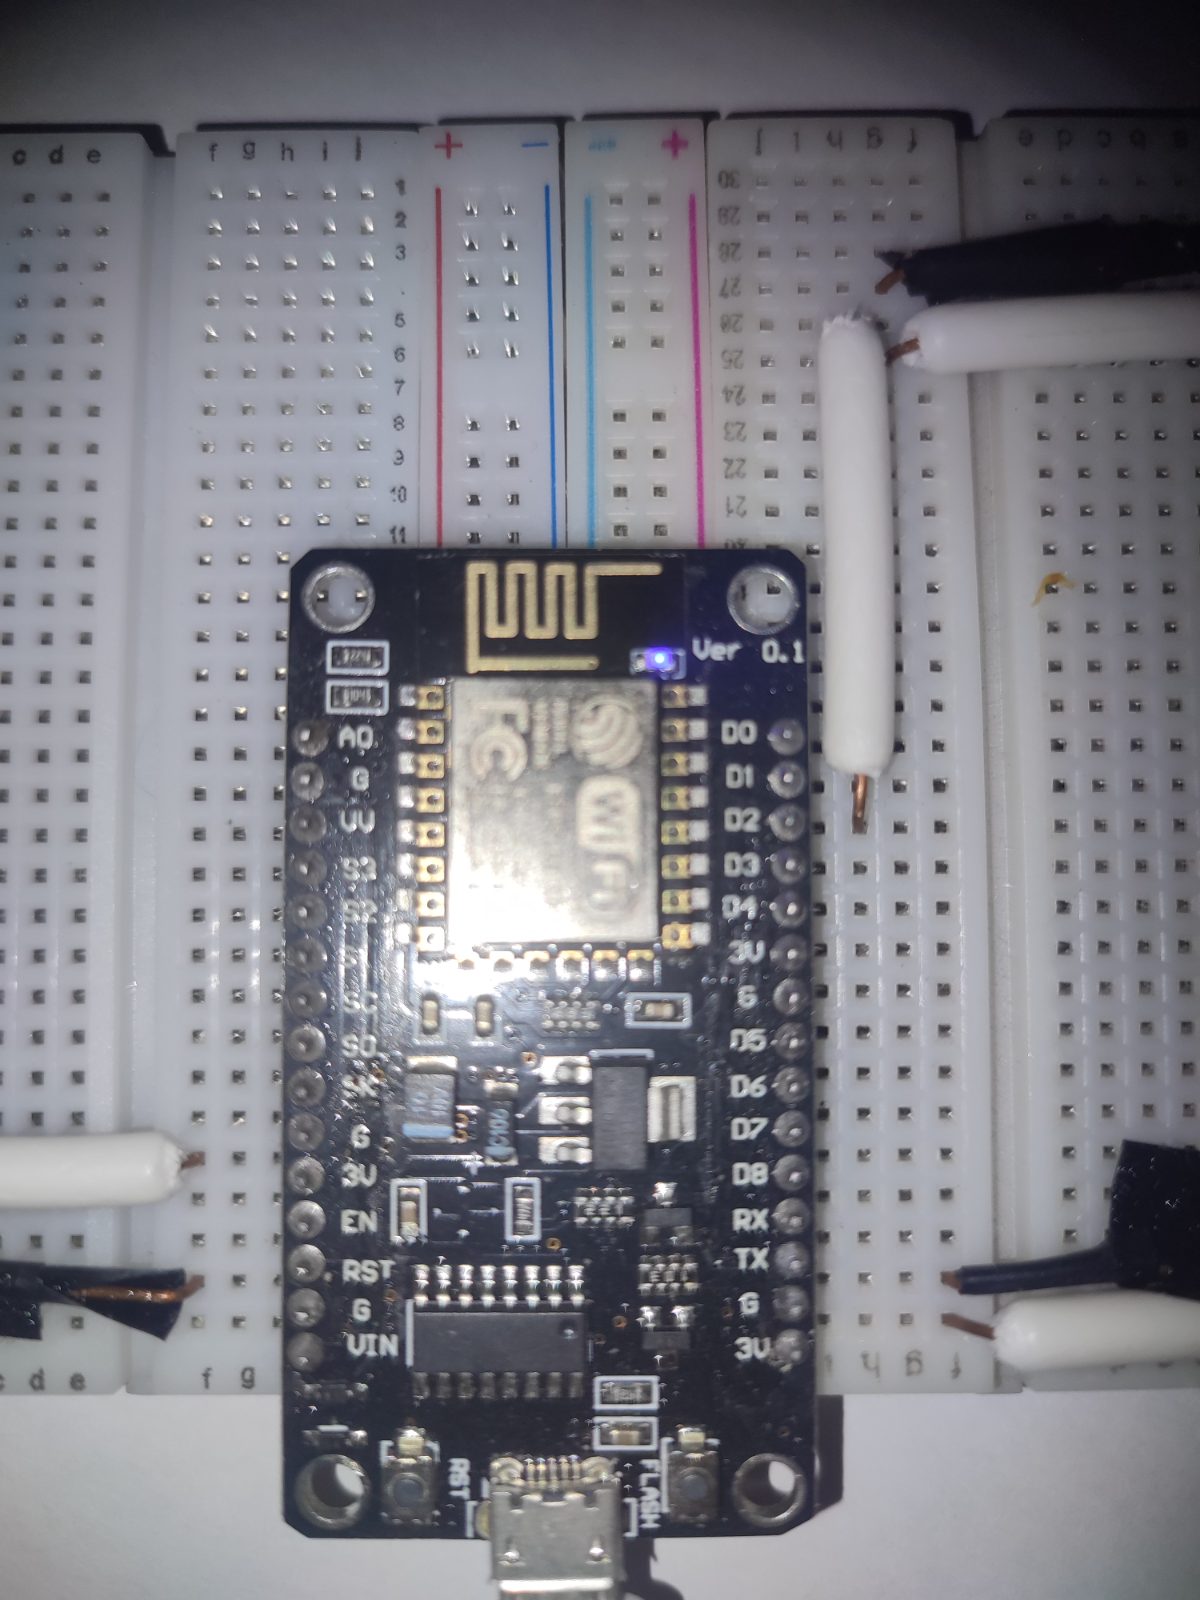
Blinks the onboard blue LED on a NodeMCU ESP8266 at 5Hz (100ms on, 100ms off).
Originally started as 10Hz (50ms delay), changed to 5Hz in commit a25d380 for better visibility.
This project serves as a template for organizing hardware projects with code, photos, and documentation.
Hardware
| Component | Model | Qty | Notes |
|---|---|---|---|
| Microcontroller | NodeMCU ESP8266 (ESP-12E) | 1 | Onboard LED on GPIO2 (D4) |
| USB Cable | Micro-USB | 1 | Power + programming |
Pin Mapping
| ESP8266 Pin | Connected To | Function |
|---|---|---|
| GPIO2 (D4) | Onboard LED | Blink indicator (Active-Low) |
Active-Low:
LOW= LED ON,HIGH= LED OFF
Visual Guide
Board Overview
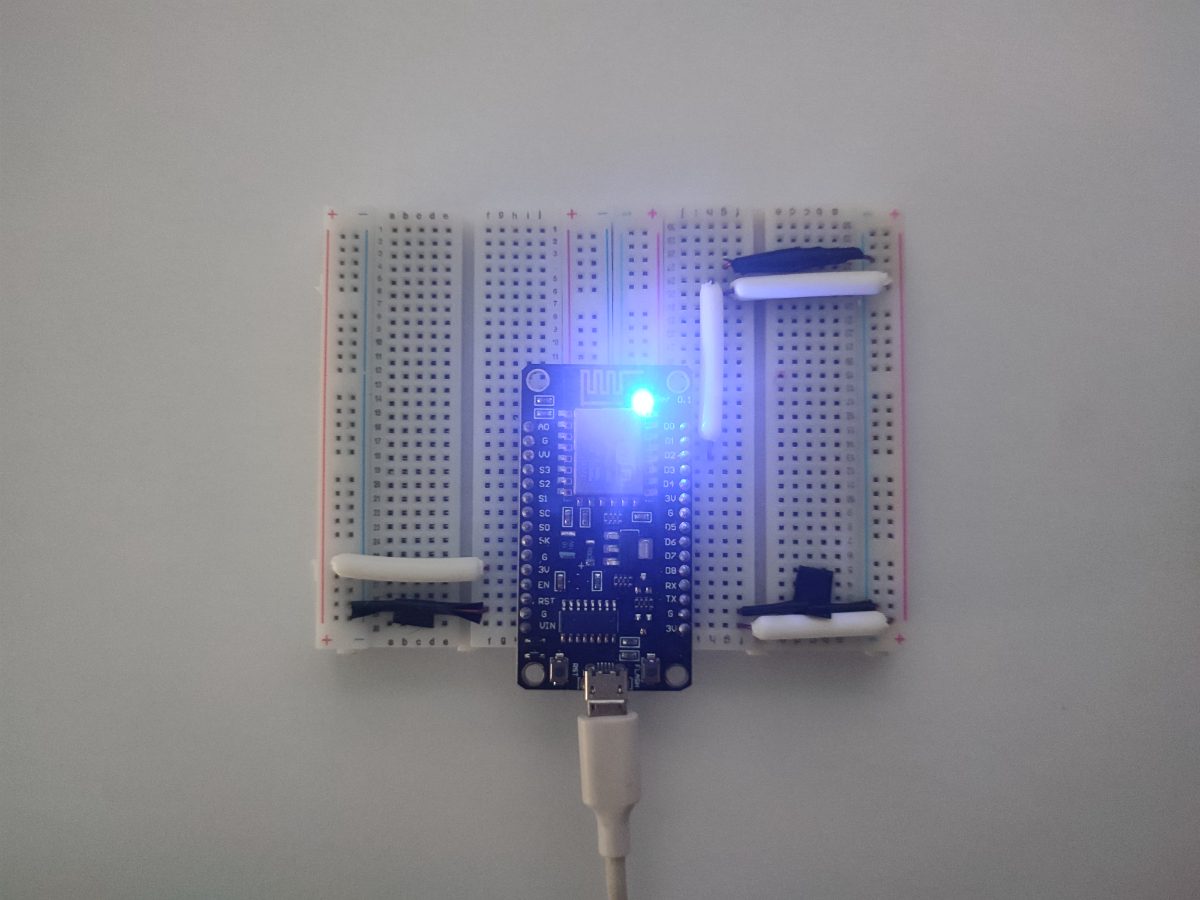
LED Close-up
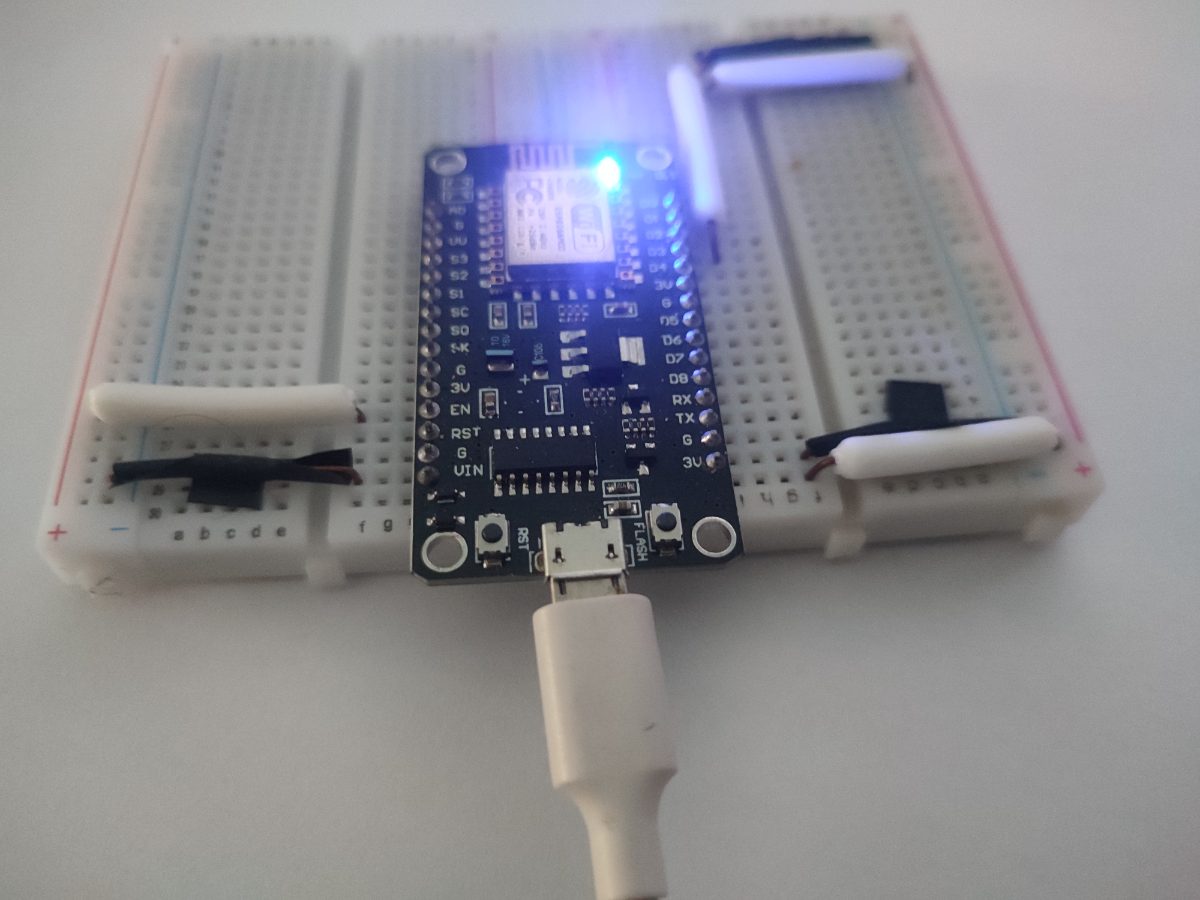
Side View
Schematic
This project uses only the onboard LED — no external wiring required.
ESP8266 NodeMCU
┌─────────────┐
│         LED │◄── GPIO2 (D4)
│    [====]   │     (Active-Low)
│             │
│  USB        │
└─────────────┘
Software
PlatformIO Configuration
| Setting | Value |
|---|---|
| Platform | espressif8266 |
| Board | nodemcuv2 |
| Framework | arduino |
See platformio.ini for full configuration.
Build & Upload
- Open project in VS Code with PlatformIO extension
- Click Build (checkmark icon) or press
Ctrl+Alt+B - Click Upload (arrow icon) or press
Ctrl+Alt+U - The onboard blue LED should start blinking immediately
How It Works
digitalWrite(LED_BUILTIN, LOW);   // LED ON  (Active-Low)
delay(100);                       // 100ms
digitalWrite(LED_BUILTIN, HIGH);  // LED OFF
delay(100);                       // 100ms
// Cycle repeats → 5Hz blink
Frequency Note
- Period: 100ms ON + 100ms OFF = 200ms
- Frequency: 1 / 0.2s = 5Hz (5 full blinks per second)
Files
| File | Description |
|---|---|
src/main.cpp |
Main source code |
platformio.ini |
PlatformIO build configuration |
images/ |
Project photos |
schematic/ |
Wiring diagrams (N/A for this project) |
License
MIT — Use this as a template for your own projects.